At first glance, one might think that animating a bouncing ball would be easy, a simple matter of moving a sphere and adding location keyframes. Sure, the ball would move. However, it would not bounce realistically. Because of gravity, the ball moves slower at the top than at the bottom. The ball actually is stretched a bit in the middle of the bounce and squashes when it hits the floor. Because of friction, the height of the next bounce is less than the height of the previous bounce. The spin of the ball must be realistic as well.
We're not going to address all these things. The purpose of this tutorial, which is based on the Blender 3D Noob To Pro bouncing ball tutorial, is to show the basics of animating a bouncing ball, including squashing the ball using lattice deformation and how to use IPO curves to bounce the ball a number of times without redoing the first bounce sequence again and again. I used Blender 2.49B.
We'll start by deleting the default cube (Right click, pressing the X key, and confirming the delete). Then add a UV Sphere (Space-Add-Mesh-UVSphere), accepting the default settings of 32 rings and 32 segments. From the editing buttons (F9), press Set Smooth. Then add a subsurf modifier at level 2. This gives us a nice round ball.
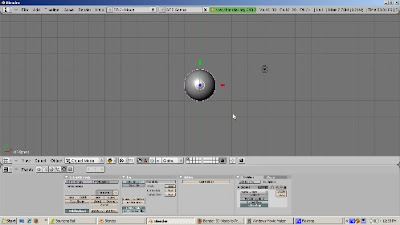
Press Num1 to go into Front View. Add a Lattice (Space-Add-Lattice). Press Z to go into wireframe mode. Select the lattice. Scale the lattice so that the UV Sphere is inside of it, with the sides of the lattice touching the sides of the sphere.
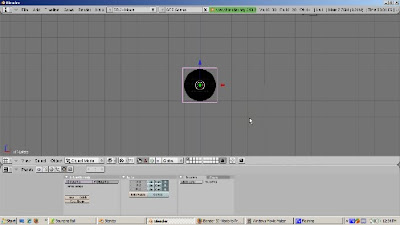
To make the lattice control the sphere, select the sphere, then Shift Select the lattice. Press Control-P and choose the Lattice Deform option to make the lattice the parent of the sphere. Select the UV Sphere and press F9. Look at the modifier stack. You should see the phrase "Lattice parent deform" at the top of the stack. This means that the lattice modifier was applied correctly. To test this, select the lattice and scale or move it. The sphere mesh should scale or move as well. We'll use the lattice later to squash the ball. The Make Real button would make the lattice permanently control the ball. We can ignore this button for this simple tutorial.
Now it's time to animate the ball. To do this, switch to Scene SR:1-Animation. This built in scene setup has all the windows we need for animation - the Outline Window, the 3D viewport of course, the IPO window, which we'll use later, and the buttons window.
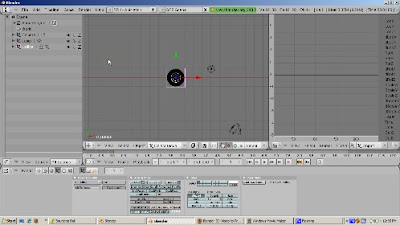
Position the 3D cursor in the 3D viewport and press Num1 to go to Front View. The blue Z arrow should point upwards. We're going to animate the first bounce over 23 frames, which is about 1 second assuming a standard movie speed of 24 frames per second. Press F10 to go to the Scene buttons, and set the end frame to 23.
It's time to insert key frames. Note that we are animating the lattice, not the ball.
Make sure we're in Frame 1. If not, press Shift-Left Arrow or enter the number 1 in the Frame Number area. We start the animation when the ball is at the top of its bounce. Press the G key, then the Z key, to move the lattice up in the Z direction, about 7 blender units or so, to the top of the bounce.
Press the I key and set a key for LocRotScale. Note how there are now 9 curves in the IPO window, for location, rotation, and scale, in the X, Y, and Z direction. You get 3 curves for each, for X, Y, and Z.
Go to Frame 11. Press the G key, then the Z key. Mgzove the lattice down in the Z direction, to 1 Blender unit above the ground. This is where the ball will be squashed a bit. Press the I key and insert a LocRotScale key.
Go to Frame 13. Leave the Lattice in the same position and insert another LocRotScale key.
Go to Frame 23. Move the Lattice back to its position at Frame 1 by pressing the G key, then the Z key, then moving it back to 7 Blender Units up. In real life, the ball should move back somewhat less than that, because of friction, but for this tutorial, where the ball will just bounce forever, we can ignore this. Press I and insert a LocRotScale key.
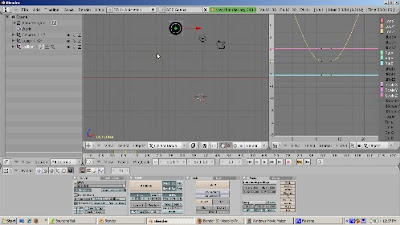
We have animated the basic bounce. On Frame 12, we will squash the ball. Go to Frame 12. Place the cursor at the base of the lattice. Set the Pivot point to 3d Cursor. Scale the ball on the Z axis by pressing the S key and then the Z key. Press I to insert a LocRotScale key.
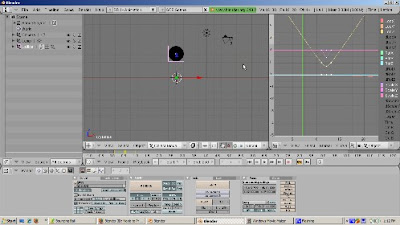
In IPO window, move the Green vertical bar back and forth to scrub the animation. We have now animated both the bounce and the squash. Pressing Alt A will also do the animation of the bounce forever. Press Esc to stop the animation.
The reason the ball bounces forever is that the animation is 23 frames long, exactly as long as the ball bounce. That's a coincidence. To demonstrate this, change the animation length to 250 frames. and press Alt A. Now the ball bounces and just stays there from frame 24 to 250 instead of bouncing. Suppose we want the ball to bounce forever no matter how long the animation. To do that, go to the IPO window. Press A to select all the curves. From the Curve Menu, select Extend Mode and select Cyclic. When you replay the animation, Alt A, the ball bounces for the entire animation.
There's plenty more tweaking that can be done to this basic animation. You can add materials and textures to the ball. You can play with the IPO curves to control how the ball moves, stretches, and contracts. I hope this gets you started. Happy blending.