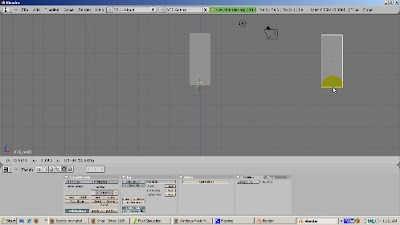
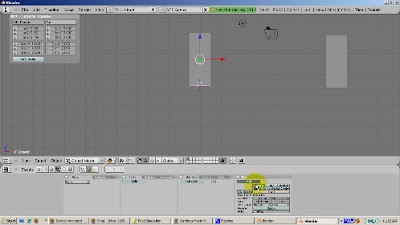
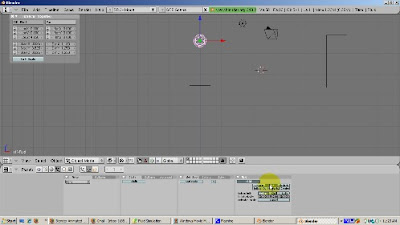
The purpose of this video is to show how the objects in Blender's fluid simulator work. We'll look at domains, obstacles, inflow, outflow, and of course fluid objects. Blender's fluid simulator at first seems very challenging. However, if you think about how fluids behave in real life - think of water pouring out of a faucet into a sink or a bathtub, the fluid simulator starts to become more logical. In this tutorial we're going to focus on the objects in Blender's fluid simulation.
Let's start with the most basic fluid simulation. At a minimum, the fluid simulator needs two things: a fluid, which can be free flowing like a waterfall or muddy like water in a pond; and a domain, which is an area in which the fluid lives. Be warned. This doesn't look exactly like water dripping from a faucet, but it does look like some icky gook falling down in a fluid like manner.
So start Blender. Usually we delete the default cube. This time, however, we will use the default cube. It will be the domain, the area in which the the fluid lives. Go to Front View, by pressing NUM1. The blue Z arrow will point up. We need this because fluids are affected by gravity. In Blender, Z is up and -Z is down.
Let's make the domain a bit higher along the z axis. Press the S key to scale, then the Z key, then scale the cube up 4 blender units. Grab it, with the G key, and move it along the Z direction (Z key) so the domain sits on the X axis. Before we do anything with the cube, duplicate it (Shift-D) and move it away from the original cube. You'll see later why this is a good idea.

Just to track things, let's name our objects. Select the original cube. Press the N key to bring up the Transform Properties window. Rename the cube to Domain. Make sure the cube is in object mode. Press Tab if the cube is in Edit mode.
To tell the fluid simulator that the cube is the domain, press the Object buttons (F7), then the Physics button, the second button in second group of buttons. Press the Fluid button the enable the fluid simulator, on the extreme right. Click the Domain button.

Press the Z key to go into wireframe mode. You can see objects inside of other objects in wireframe mode.
We need to add a fluid. Add an icosphere (Space - Add - Mesh - Icosphere), accepting the default of 2 subdivisions. Scale it down using the S key, so that the icosphere looks like a drop and is positioned at the top part of the cube. Make sure that the icosphere is inside the cube. Check out all the views and rotate, to make sure.
In the Transform Properties window, rename the icosphere from Sphere to Fluid. Let's make the fluid source green, just so we can see it. Press F5 to add a material. To make the fluid source green, set R to 0, G to 1, and B to 0.
Select the domain and go to the material buttons. Make the domain color red by setting R to 1, G to 0, and B to 0. Weird things happen to the domain during the fluid simulation, as you'll see.
To tell fluid simulator that the icosphere is the fluid, make sure the icosphere is in Object mode. Then press the Object buttons (F7) and the Physics button. Press the Fluid button to enable the fluid simulator. Click the Fluid button.

We're set up to run the fluid simulator. The cube is the domain and the icosphere is the fluid. To run it, select the cube. In the fluid simulator buttons for the cube, press the big BAKE button. The cube turns into a blob and starts falling down like a drop. The falling stops where the cube used to be, as if the cube was still there, although it doesn't show.
Believe it or not, we've created a fluid animation. Press Alt-A to see it. Press Esc to stop the animation. The animation is done over 250 frames by default. To create an animation, press F10 (Scene buttons). Set the Output Directory to the directory where you want to store the animation. In the Output panel, navigate to the directory and then select Select Output Pictures. In the Format panel, select the type of video you want to create. The default is jpeg. I like the .avi format, with the CamStudio 1.4 Lossless Codec. I use CamStudio to capture screen shots for these tutorials. If you choose uncompressed the video will take a lot of space. Click the ANIM button and wait. The animation is being created, all 250 frames of it.
Depending on your computer, the animation can take a long time, up to 10 minutes.
I paused the video because it's kind of boring to watch the animation being created frame by frame. Here's the result.
Some things to note. The fluid looks too geometric to be believable. We can help this by smoothing the fluid. Select the domain object, which controls the color of the fluid as it falls. Go to the edit buttons. Press the Set Smooth button. Also, subsurfing the fluid will help. Add a subsurf modifier at Level 2. Select the domain. Press the BAKE button. For the sake of speed, let's reduce the number of frames to 50. At 25 frames per second, this is a 2 second video, but it illustrates the point.
Select the Fluid object. Go to the Physics buttons and change its type from Fluid to Inflow. Here's the result.
The fluid is more, well, fluid-like. An inflow is a fluid object that adds fluid. Blender allows more than one fluid source, i.e. more than one inflow, like more than one faucet or shower head. However, only one domain is allowed.
We're going to add an obstacle. Add a cube below the path of the fluid. Select the cube, making sure it's in Object Mode. Click on the Object buttons, then the Physics buttons. Go to the Fluid simulator. Enable Fluid and click on Obstacle. Running the fluid simulator produces the following result.
Finally, we're going to add an outflow, which takes fluid away from the simulator. An outflow is like a bathtub or faucet drain. To do this, add a plane above the cube, in the path of the fluid. Select the plane, in object mode. Go to the Fluid simulator, as before. Enable Fluid and click the Outflow button. Select the domain and press the Bake button. The animation should look as shown, The fluid disappears before it hits the obstacle.
Remember the cube domain that we duplicated before? To make the simulation realistic, position it on the domain boundaries. You'll need to make it transparent and add materials and textures, no doubt. And probably you will want to apply a realistic water, oil, or mucky texture to your fluids. But that's it. We've done a basic fluid simulation, with a fluid and a domain. We've added an obstacle - in real life, something like a bathtub or sink, as well as an outflow, like a drain. I hope this gives you the basic idea of how it works. Happy Blending.