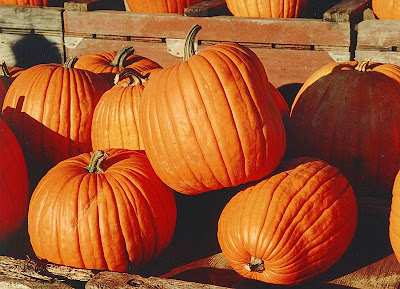
Hi. Many times, simply mapping an image texture does not highlight the detail of the image enough. Blender's bump map is one of the ways that you can make the images in your scene more exciting and realistic. The goal of this video is to show how bump maps do this. In keeping with the October Halloween mood, we'll start with a jpeg image of pumpkins. These pumpkins, like most, have a lot of deep indentations, and other imperfections. In the 3D world, imperfections are good because they make the scene more realistic. Think of an orange peel. What's more realistic, a peel that's orange everywhere, or one where all the ridges and dimples of the orange show? It's the same with pumpkins.
A bump map is a mathematical calculation of each pixel's height, based on an image. The bump map texture is independent of the underlying mesh. This makes bump mapping far easier than trying to simulate the height effects by adding more geometry to your mesh. Think of adding vertices and faces at every place in an orange peel mesh where you want some height or depth.
OK, let's get started.
1) Delete the default cube, with Right click to select, then X, then Enter to confirm.
2) Add a plane, with Space-Add-Mesh-Plane. Scale it up 10 times (S 10 ENTER).
3) Split the 3D view in half. Make the right half a UV/Image Editor window.
4) In the UV/Image Editor window, from the Image Editor, open the Pumpkins.jpg image. At http://blender3dvideos.blogspot.com, I have a link to the image I used. You can either use that one, or load any image you want. Select the Image and click Open Image.
5) In the 3D window on the left, from the View Menu, select Align View, then Align Active Camera To View, or press Control-NUM0.
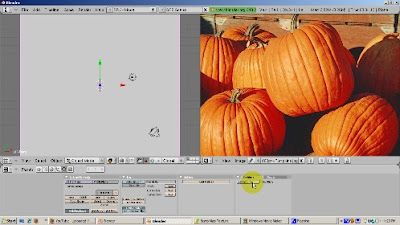
6) From the Buttons window, press F10 for the Scene buttons. At the bottom left corner is where you can select where the render output will display. The default is a separate window. Change it to Image Editor. This will let us compare the reference image with the image with our adjustments applied.
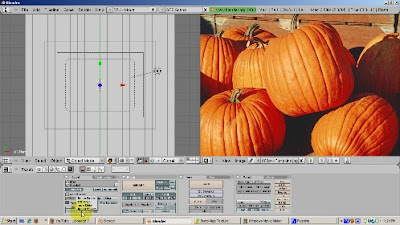
7) Select the plane (right click). Add a material, by pressing F5 (Shading), then the Material purple sphere, then click Add New.
8) We're going to select a color from our reference image as our base color. Later, we'll change it to see different effects. Click the Color rectangle, then the Sample button. Go to the reference image in the UV/Image Editor window, and select an orange color that will serve as the background color for the rendered image.
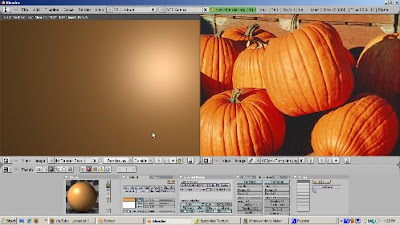
9) Press F12 to render. The plane is orange, but there's a big white spot on the upper right corner of it. This is the result of specular highlights. We want to turn this off. Click on the Shaders tab, find the Spec slider, and turn it to 0. Press F12 to render. Now the specular highlights are gone.
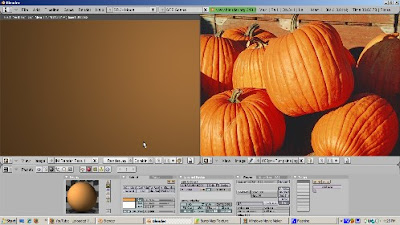
10) Press F6 for the texture buttons. Click Add New. Click on Image. Select Image as the Texture Type. Click on the Load button. Load the Pumpkins.jpg image. Press F12 to render. The pumpkin jpeg is now on the plane.
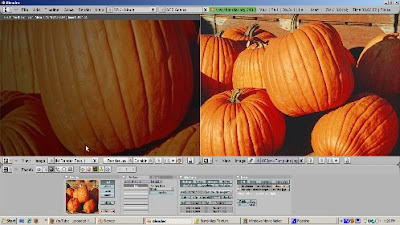
11) To make the image a bump map, click on the Material buttons. Go to the Map To panel, all the way on the right. We'll make a full bump map. Turn off Col, for Color, and turn on Nor, for Normal. Increase the Normal slider to 20, to make the effect obvious. Press F12 to render. As you can see, the pumpkins look more realistic than before, but we don't have any color.
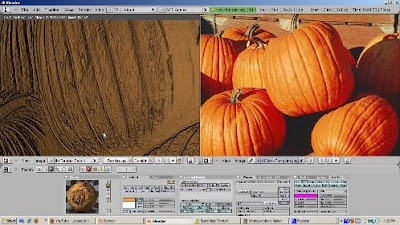
12) Turn on the Col button, and press F12. Now the orange pumpkin color is back without affecting the bump map.
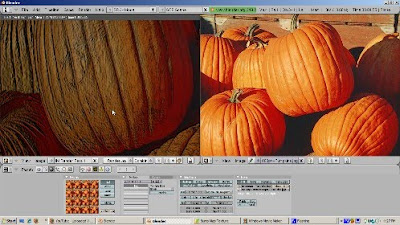
There are many other artistic type effects you can do. Here's an example. Go to the Texture buttons, F6. Change XRepeat to 4 and YRepeat to 4. This makes the image repeat. The bump map effect repeats as well.
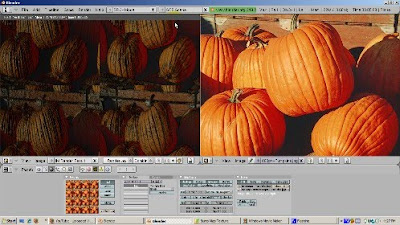
Any time you want to save a render, press F3. You can use the JPEG somewhere else, say as part of a Halloween party invitation. I think you'll agree that this is much easier than creating a mesh that looks like these pumpkins. I hope this gives you some ideas about how to use bump maps to make your Blender scenes more realistic.