You can select the subcomponents of a mesh by either right clicking, or shift right click, or the B key to box select, or the B key twice to form a circle selection, or alt left click for lasso select. There's another way to select parts of a mesh, which is by selecting a loop of vertices, edges, or faces. Also, adding loops is a great way to add detail to your mesh. Instead of subdividing a mesh, which adds a lot of extra geometry when it's not needed, adding loops only in the area where you want detail will create a cleaner mesh with fewer edges, vertices, and faces. The aim of this tutorial is to demonstrate how to use loops both to select parts of your mesh and to add details to it.
Selecting By Loops
We'll work with the default cube. It's selected and in Object Mode. Go to the Edit buttons (F9) and press Tab to go into Edit mode. Press the Subdivide button, in the Mesh Tools panel, three times. Rotate the view, using either the middle mouse button or alt-Left Mouse Button if you enabled Emulate 3 Button Mouse in the Preferences window. We're in Vertex Select mode. Position the 3D Cursor at one of the corner vertices. Hold the Alt key down and press the Right Mouse button. Doing that, selects not just the vertex (which is what Right Mouse button does just by itself), but the entire edge that the vertex belongs to.
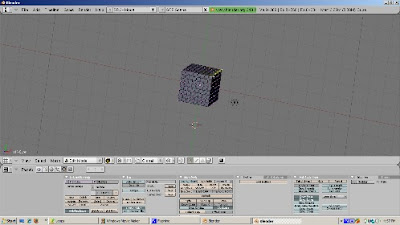
Press the A key to deselect the vertices.
Now hold the Alt key down and select a vertex that is not on the outside edge but instead is inside the cube. This time, an entire loop of edges is selected - the loop that that vertex belongs to. The loop could be horizontal or vertical.
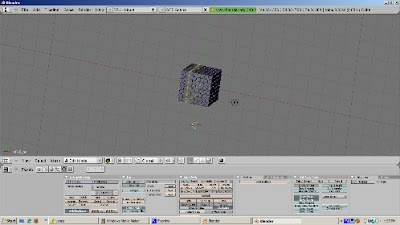
Press the A key to deselect everything. You can also select the perpendicular range of faces to which the edge belongs by holding both the Control key and the Alt key at the same time. To illustrate, press the Control key and the Alt key at the same time, and select a vertex. What is selected is the faces on the edge perpendicular to the vertex.
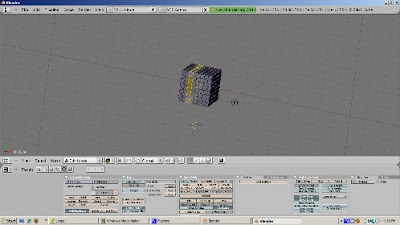
You can add to the loop selection, in effect selecting multiple loops, by holding the Shift Key down as well as the Alt Key. Hold the both the Alt and Shift keys and select an unselected vertex. Now you have selected two loops. If the loop includes all the vertices that form a face, those faces will be selected as well.
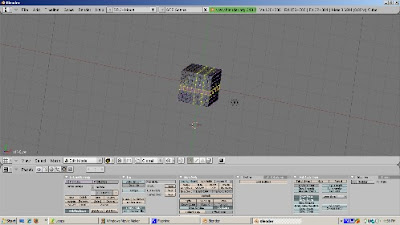
If you feel particularly ambidexterous, try holding the Control, Alt, and Shift keys down at the same time, and select another vertex. You then add to the faces selected before.
Loop selection works in edge select mode as well. Holding the Alt key and then clicking the right mouse button selects the loop to which the edge belongs to. Press the A key to deselect everything. If we go into Face Select mode, we see that loops of faces can also be selected this way. Hold the Alt kay, and with the 3D cursor on a face, press the right mouse button to select a face loop. Hold both the Shift key and the Alt key, select an unselected face with the right mouse button, and the loop in which the selected face belongs is added to the selection.
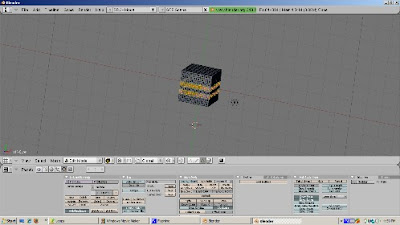
Selecting loops of vertices, edges, or faces, can make the selection process much more precise than box selection or selection of individual vertices, edges, or faces.
Creating Loops On A Cube
You can add edge loops with the Loop Subdivide tool (Control-R). To illustrate, position the cursor on an edge of the cube, and press Control-R. A magenta square shows where the new loop will be cut. However, you actually have more control over where the loop cut will occur. Press Enter.
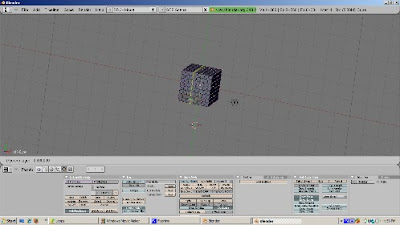
Now you see both the proposed new loop, and a green line, which is the edge along which you can slide this loop. This is called "edge slide mode". A green line, showing the edge along which the loop can be cut, displays. You can scroll the edge up and down along the green line. Press Enter when you get to the position of the new edge that you want.
You can create more than one edge loop at a time. Position the cursor at an edge along where you would like to cut and press Control-R. Now, instead of pressing Enter, press the + key on the numeric keypad. This adds a loop cut, allowing you to create two loop cuts at a time. You can press the + key on the numeric keypad to add another loop cut, or you can press the - key on the numeric keypad to subtract 1 loop cut. Then press Enter. Edge Slide mode does not work when you create more than one edge loop. Instead, the loops are split evenly along the edge.
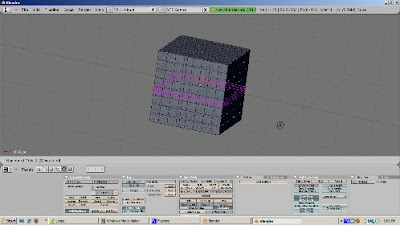
Creating Loops On A UV Sphere
Let's start with the default scene by selecting Load Factory Settings from the menu. Delete the default cube (press the Delete key, then press OK to accept the delete). Add a UV Sphere (Space - Add - Mesh - UVSphere), accepting the default settings of 32 rings and 32 segments. Press Tab to go into Edit Mode. Press A to deselect everything. Press Control-R. You can create edge loops either based on rings (going left and right) or segments (going up and down). Lets add an edge loop based on a ring. Press Control-R, selecting a horizontal edge loop to create. This selection works the same way as for a cube. Press Enter, to go into Edge Slide mode. Position the loop where you want and press Enter. However, for a ring, the edge loop only is created on half the UV Sphere. Press Control-R, then Enter. Slide the edge where you want it. Then press Enter. Rotate the UV Sphere and you will see the result. To get the edge loop to go around the UV Sphere, you will need to create the corresponding edge loop on the other side of the sphere.
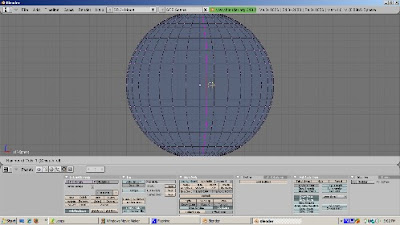
You can add more than one loop cut using the + key on the numeric keypad, and subtract using the - key on the numeric keypad, as with the cube.
Control - Alt - Right Click and Shift - Control- Alt - Right Click work the same way on a UV Sphere as on a cube. You can create a loop of faces perpendicular to the edge you select with Control - Alt Right Click, and extend the selection if you somehow manage to hold Shift, Control, Alt, and Right Click while the 3D cursor is on an unselected face.
As you can see, selecting and adding loops can make your mesh modeling more precise when you're adding detail. These techniques work on any mesh, not just the cube or UV Sphere. Try them with a torus, or with Suzanne, and you should get the hang of loop selection and addition quickly. Happy Blendering!