The purpose of this video is both to make you comfortable with the user interface of Blender 2.5 and to show how Blender's array modifier works. The array modifier is a handy way of creating a lot of objects quickly. It's much more efficient than duplicating each object with Shift-D and then positioning it. Our goal is to create a "cube array" of 27 monkeys, 3 in the X direction, 3 in the Y direction, and 3 in the Z direction. You could easily create an army of hundreds, or even thousands, of objects, in a few keystrokes. If you're creating a game with thousands of aliens, the array modifier will save you many hours duplicating all those characters.
Even though I created this video with a mid-September pre alpha build of Blender 2.5, which means that everything is subject to change before the final version of Blender 2.5 is released, the array modifier works the same way as in Blender 2.4x versions. So let's get started.
Start up Blender 2.5, with its default scene. Delete the default cube, which is selected by default. If it's not, right click to select. Use the X key (the delete key doesn't work) and confirm the delete.
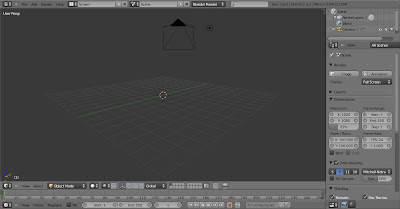
We'll start with one monkey. Add the monkey to the scene by pressing Shift-A (the space bar gives you a different menu), then Add-Mesh-Monkey. Click on the Modifier panel, an icon that looks like a wrench, and click on Add Modifier. Click on Array. You will see two monkeys. The default is a fixed count array, where you specify the number of objects in the array, set to 2 objects, with a relative offset X of 1 Blender Unit, with Y and Z offsets of 0. The numbers you see in the relative offset and the constant offset X, Y, and Z areas are in Blender Units. You can use either Relative Offset, Constant Offset, or both, to position the array objects.
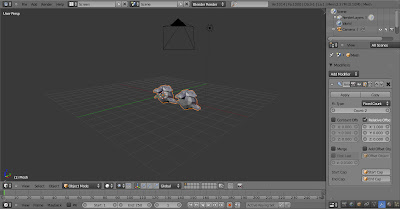
Constant Offset tells Blender to position the duplicate copy the number of Blender Units in the X, Y, or Z direction, from the center of the previous object. Relative Offset uses the actual width of the object, in the X, Y, or Z direction. In the perspective view, you can see how you can control the positioning of the monkeys in the up and down, left and right, or side to side, using either Relative Offset, Constant Offset, or both.
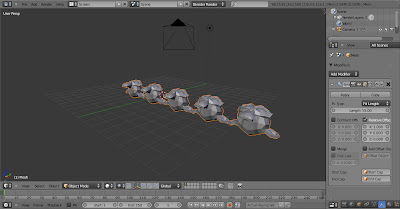
Instead of Fixed Count, you can use Fit Length. When you choose Fit Length, the Array Modifier will add as many monkeys as will fit in the number of Blender Units specified. The offset settings, constant or relative, need to be taken into account to determine how many monkeys fit. If you increase the spacing between the monkeys, you will reduce the number of monkeys in the array.
Another option is Fit Curve. You control the number of copies by creating a curve and increasing or decreasing its length. Any one of Blender's curve objects - Bezier curve, Bezier circle, NURBS curve, NURBS circle, or Path - will work. Mesh objects will not work. We'll create a Bezier curve as an example. You need to tell the Array Modifier the name of the curve. The default name is Curve, which we enter in the Object box. The name is case sensitive. As soon as we do that, the curve will control the number of monkeys generated. This is a great way to animate duplicate copies because the curve can be animated.
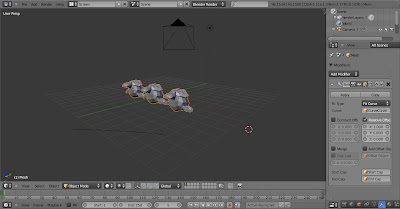
Delete the curve, by right clicking on it, pressing X, and confirming the delete.
Go back to Fixed Count. We'll now create our 27 monkeys arrayed in a cube fashion. Start off by creating 3 monkeys in the X direction, with the X offset of 1.5, to give us some space between the monkeys. Press Apply, which makes the change to the object permanent. We now have cloned 3 monkeys in the X direction.
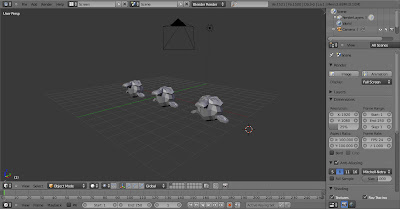
Next we clone the 3 monkeys 3 times in the Y direction. Click on Add Modifier and select Array. This time, the X offset will be 0, and the Y offset will be 1.5, which gives space in the Y direction. Press Apply. Now we have 9 monkeys in a 3 x 3 grid.
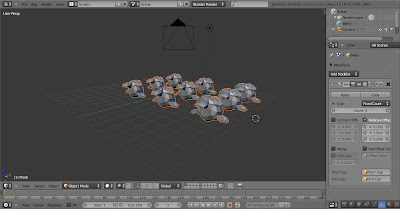
Finally, we clone the nine monkeys 3 times in the Z direction. Click on Add Modifier. Select Array. Set the X offset to 0, the Y offset to 0, and the Z offset to 1.5. The result is 27 monkeys in a cube style arrangement.
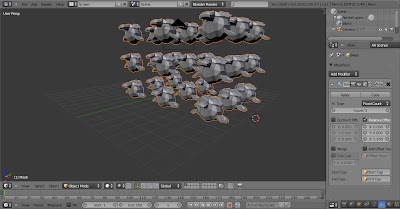
The monkey array is actually one object. To illustrate that, let's make them all red. Click the Material button and set the diffuse color to Red by using the slider.
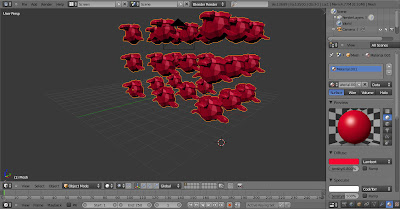
I'll switch to Quad View to illustrate how we can see the front, side, top, and camera views of our monkey cube, all at once.
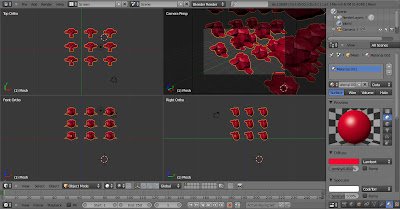
The array modifier is a flexible and quick way to clone objects in Blender. Thanks for watching.