I have two goals for this video. The first goal is to familiarize you with the rendering settings of Blender 2.5. The second is to explain ambient occlusion, a powerful tool for rendering 3D objects more realistically. Even though I did this tutorial in 2.5, it should work in your version of Blender as well. Please note that this is based on a pre-alpha Windows version, as of September 15, 2009. As such, everything is subject to change. However, most probably, the basic user interface will not change that much. In addition, the renders can also change between this version and when Blender 2.5 officially is released, both because of implementation changes and tweaks to the algorithm.
We start with the default Blender 2.5 scene. The 3D window contains a camera, a lamp, and a cube, in perspective mode. Let's render the default scene. The scene icon, a camera, is where the settings for rendering the scene are set. The default dimensions are 1920 x 1080 pixels at 25% of full size, which gives a higher resolution image, with a lower size, than the old default of 800 x 600 pixels at 100%. The default output is Portable Network Graphics (.png), as opposed to JPEG. Here's the default Blender 2.5 scene.
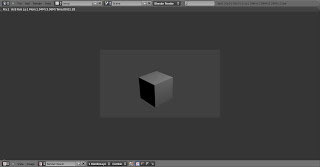
Note that the World colors have also changed, which explains the change in the cube's background.. The horizon colors are Red=.250, Green=.250 and Blue=.250. The old horizon colors were Red=.05, Blue=.22, Green=.40. The zenith colors are Red=.1, Green=.1, and Blue .1, and the ambient color is black (Red=0, Green=0, and Blue=0).
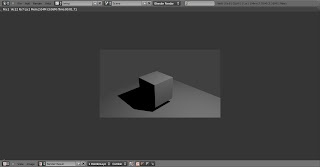
Let's add a plane to our scene, to show ambient occlusion. Remember to use Shift-A instead of the space bar to bring up the Add Object menu. Do Shift-A, Add Mesh, Plane. Position the plane below the cube by grabbing it (GKey) and relocating it below the cube. Then scale it 5 times with Right Click, followed by S, followed by 5, and pressing Enter. Now the cube lies above the plane. Press F12 to render. You should see the cube casting a shadow on the plane, as shown below.
Now let's delete the lamp. Highlight the lamp (Right Click), press X (you can't use the delete key), and confirm the delete. Now when we render, all the objects are black. The world colors render where there are no objects. The render should display as shown below.
Ambient occlusion uses the ambient color, combined with a mathematical technique that darkens corners or areas hidden by other objects (the word "occlusion" is a fancy word for hidden). Lets go to the World buttons and find the Ambient Occlusion panel. Check the Ambient Occlusion check box, accept the defaults, and press F12 to render. In the older versions of Blender, press F8 for the material buttons, then the World subcontext, find the Amb Occ panel, and click on Ambient Occlusion. Here's the render I got.
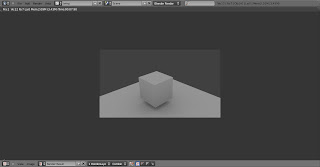
Blender uses the World colors to color the cube and the plane, and then rendered a small shadow on the plane. The shadow is larger as the cube moves closer to the plane. Move the cube closer to the plane, use the G key and move in the negative X direction. Then press F12 to render.
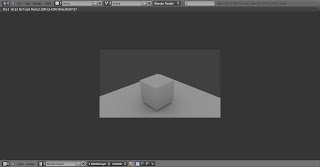
This render took about 7 seconds. If you raise the number of samples up to 10, the shadows become crisper, but the render time is much slower. This simple render took about 24 seconds - over 3 times slower.
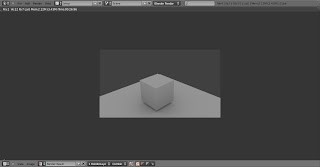
Set the samples back to 5.
By default, ambient occlusion uses ray tracing, casting rays from each pixel of each object. If the ray finds an object before reaching the World, the pixel is darkened. The resulting shadows are affected by the closeness of the object. Go to the World buttons. If you turn off all the Shading check boxes (they're all on by default), you won't get any ambient occlusion.
The two check boxes you need to check (buttons in earlier versions), are Shadows (to get any shadow effects at all), and Ray Tracing. Now if you render, with F12, you'll get AO (shorthand for Ambient Occlusion).
Approximate Ambient Occlusion is a way to get faster rendering with good AO effects, though not as good as ray traced AO. Turn off Ray Tracing (but keep Shadows on). Then go to the World buttons and click Approximate. Then render (F12). Here's the result on my computer.
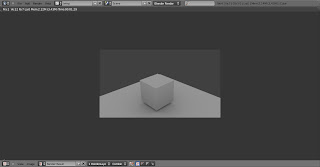
Not quite as precise an AO render, but the render time was less than 3 seconds. Approximate AO is a great choice for animation because of the tremendous savings in rendering time. Choose it while you're developing, and turn on ray tracing AO on the final render.
Add a UV Sphere and a monkey to to the scene, moving them close to the cube and slightly above the plane. Press F12 to render. You should see shadows cast by all three objects on each other.
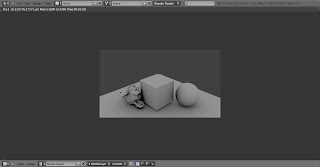
Here's an interesting effect. Change the horizon color to a nice blue shade. Change the color to Sky Color from the default of White. Press F12 to render.

The scene is now affected by the sky color. This only scratches the surface. You can play with the Falloff, Pixel Cache, Attenuation, and other settings, as well as combine AO with the lamps in your scene. I hope this gives you good ideas for making your scenes more realistic.