Ray tracing casts simulated rays of light on the scene and is on by default in Blender 2.49. Ray tracing gives the most realistic light properties in Blender, but the renders take the longest. That is why all of my renders in this video will be time lapsed. Don't expect the same rendering times as you see in this video, unless you work for Pixar or the Defense Department. For many animation and game engine applications, ray tracing rendering times are unacceptably slow. In other videos, we will discover alternatives, such as Z buffering, for which response times are more acceptable. However, the effects won't be as realistic as with ray mirror. In this video, we will be looking at a special type of ray tracing effect, ray mirror, which creates mirror reflections.
When a ray of light hits the surface of an object, one of three things can happen. The light can be absorbed by the object, the light can pass through the object (if the object has some transparency), or the light can be reflected back, which is what happens with a mirror. In reality, most objects have a combination of absorption, transparency, and reflective properties. Think of a blue light bulb. The light bulb looks blue because some of the light is absorbed by the material, glass or otherwise, to make it look blue. Perhaps you can see part of the inside of the light bulb, say if it is not frosted, such as the filament. That's because the light bulb has some transparent properties. Finally, if you can see part of the background through the light bulb, that's because of its mirror like, reflective properties. Ray Mirror controls this last property.
To show how Ray Mirror works, start up Blender and delete the default cube. Select the cube, press the Delete key and press Enter to confirm. Make sure you are in Top View by pressing Num7. Add a plane (Space - Add - Mesh - Plane). Scale the plane 5 times (S - 5 - Enter). The plane is going to act as a mirror. To make this happen, with the full Ray Mirror effect, press the Shading buttons (F5) and use the default material (Material). Click the Mirror Trans tab, then click the Ray Mirror button, and turn RayMir to 1. RayMir is a slider which goes from 0 to 1, representing 0% to 100% as a decimal number. Give the plane a red color (R=1, G=0, B=0).
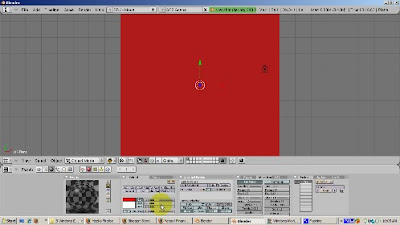
Position the camera directly at the plane with View - Align View - Align Active Camera to View.
Go to Front View (Num1). Press the Home key to see all the objects, particularly, the camera. Duplicate the plane (Shift-D). Move the plane upwards, in the Z direction (press the G key and then the Z key), so that it is behind the camera. The duplicated plane has Ray Mirror on as well.
Go to the Scene buttons (F10). Make sure the Ray button is turned on, so that Ray Tracing is enabled.
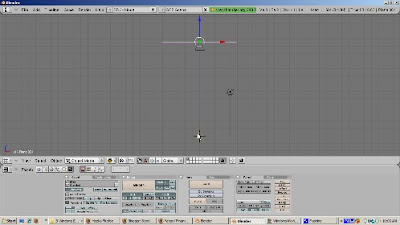
Center the 3D cursor by pressing Shift-C. Add the monkey (Space - Add - Mesh - Monkey). Add a new material by pressing F5 (Shaders) and clicking the Add New button. Make Suzanne green (R=0, G=1, B=0). Move the monkey 1 blender unit to the right and up a bit. Go to Edit buttons (F9). Press the Set Smooth button. Add a Subsurf Level 2, Render Level 3.
Make sure you are in Object Mode. If not, press the tab key. Add a UV Sphere (Space - Add - Mesh - UVSphere). Give the UV Sphere a blue color by going to the Shaders panel (F5), adding a new material (Add New button) and setting R=0, G=0, and B=1. Move the UV Sphere 2 blender units to the left and up a bit, off the floor of the plane. Press F9 to go to the Edit buttons. Click the Set Smooth button to smooth out the UV Sphere.
Press F12 to render. The red mirror should show the mirroring of both the monkey and the UV Sphere, as the light bounces off the bottom mirror, sees the monkey and the UV Sphere, and then the objects are mirrored off the top mirror. The shadow obscures somewhat the mirrored effect.
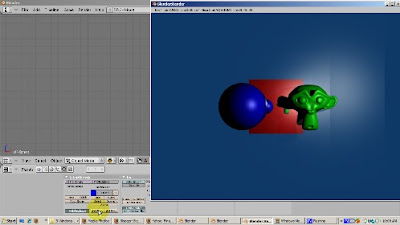
Let's turn off shadows. Go to the Scene buttons (F10) and click off Shadow. Press F12 to render. Now you get the effect of both the top mirror and the bottom mirror.
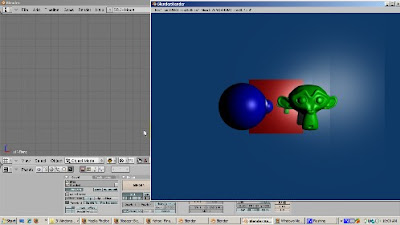
The mirror effect can be combined with the color effect. Select either mirror plane (Right click). Press F5 to access the Shaders buttons. In the Ray Mirror group, turn Ray Mirror to 0. Press F12 to render. There is no mirror effect. The monkey and the UV Sphere both render, and the plane is red.
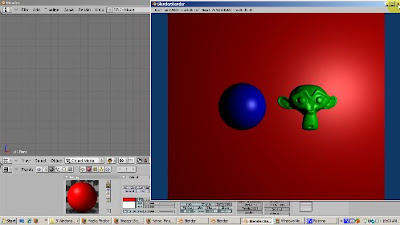
Now set Ray Mirror to .5, so we get half mirror and half color. Press F12 to render. Now the red base color shows through, but the mirror effect shows through as well. You can play with Ray Mirror to get the combination you like.
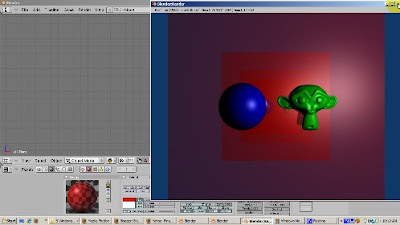
The mirror color can also play a role. Turn Ray Mirror back to 1 so we get the full ray mirror effect. Now let's set the mirror color to yellow. Select the Mirror color rectangle, and change it to Yellow (R=1, G=1, B=0). Press F12 to render. We get a really interestng result. The yellow mirror color mixes with the material's color. The monkey is green. Yellow already has green. So the mirrored monkey remains green. However, the sphere is blue. The mirror color, yellow, has no blue, so the mirrored UV sphere is yellow. By the way, there's also a blending with the sky color, which is also mirrored, which accounts for the color variation outside the mirror boundary.
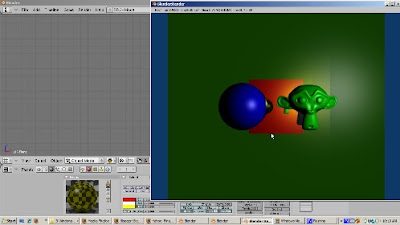
The Depth setting controls how many times the mirror effect bouncing is produced. Let's crank up the depth to 5 and press F12 to render. There are now more mirrored monkeys and UV Spheres.
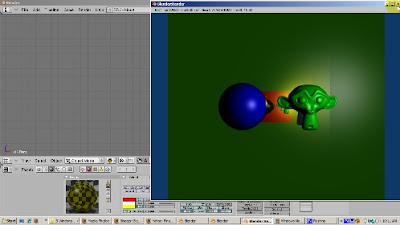
The Fresnel setting produces another interesting effect, mixing the mirror color, and the mirror's diffuse color. Let's crank Fresnel to 1.5 and render.
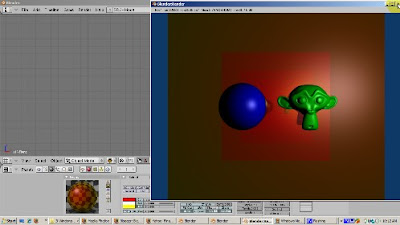
The Glossiness setting affects the blurriness of the reflection. The default of 100% glossiness produces a crisp reflection. A little bit of reduction goes a long way in increasing the realism of the render. Set glossiness to .9 (90%) and you'll get an effect that simulates a bit of dirt in the mirror.
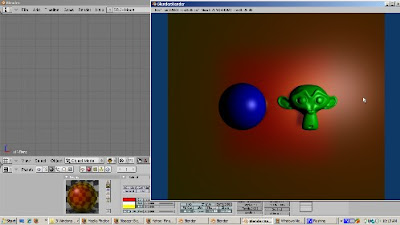
There's more. How about turning on Ray Mirror for the monkey and the UV Sphere. Select the monkey. Go to the Shading buttons (F5). Click the Ray Mirror button. Turn RayMir to 1. Then select the UVSphere, go to the shading buttons, and turn on Ray Mirror, setting it to 1. Press F12 to render. How about changing the mirror's shape? Subdivide the plane, rotate a few vertices, and render. I'll leave that to you.
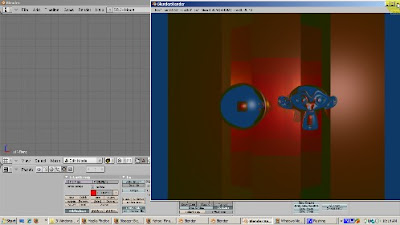
As you can see, there are a lot of neat effects you can achieve with Ray Mirror. I hope you have the basis for experimenting more and getting the effect you desire. Happy Blendering!